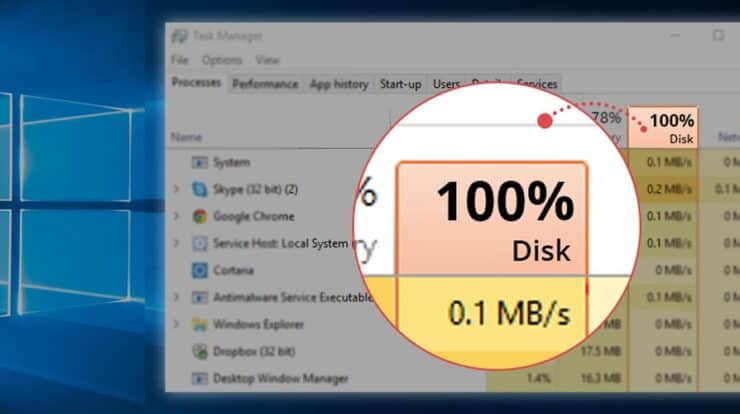
Have you ever opened Windows Task Manager and realized that your disk usage is stuck at 100%? Or is your computer using 100% disk space? This may be a vexing problem since it causes your computer to operate slowly and become sluggish. Unfortunately, this issue affects both Windows 10 and Windows 11. There are, however, a few steps you may take to fix the problem. So, without further ado, let’s start with the potential reasons for this problem.
What Does The “System Using 100% Disk” Means In Windows PC/Laptops?
Disk usage in Windows refers to the quantity of data read or written to the hard drive. When the disk usage is 100%, all available resources are being used to transmit data to or from the hard drive. This might cause the computer to operate slowly and become unresponsive.
Disk Stuck At 100% In Windows Task Manager Reasons
There are various reasons why your disk usage on Windows 10 may be stuck at 100%, which are as follows:
Running Too Many Programs At Once – A lot of programs running in the background might cause your disk usage to increase.
Disk Errors – Disk errors may cause excessive disk usage and require the “chkdsk” command to repair.
Heavy System Workload – If your PC is under a heavy workload, disk usage may cause.
Insufficient RAM – If your computer does not have enough RAM, it will use the hard drive as virtual memory, resulting in high disk usage.
Superfetch Service – If the Superfetch service is not working properly, it might cause high disk usage.
Third-party Apps/Browsers – If third-party apps, such as Google Drive or Dropbox, are continually syncing files, they might cause high disk usage.
Hardware Problems – High disk usage might be attributed to hardware issues, such as a malfunctioning hard drive in certain circumstances.
Now that you understand what disk usage is and what causes 100% disk usage in Task Manager let’s check on some solutions.
How To Quickly Fix Disk Stuck At 100% In Windows Task Manager?
Restart PC/Laptop
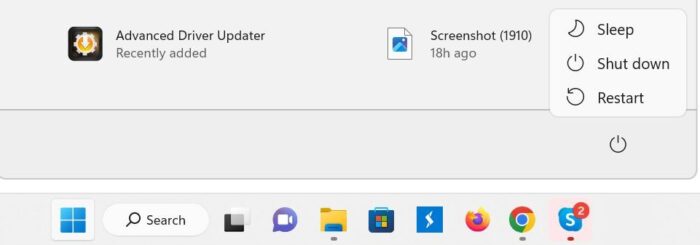
Restarting your laptop/PC usually yields excellent results. A clean start will empty the RAM on your computer, removing any transient programs and data slowing it down. As a result, memory leaks can be addressed, and performance can be improved. However, your computer may need a reboot to lower high disk usage. To do so, click on the Windows icon > choose Power > Restart.
Scan Hard Disk
The faulty sectors on your hard drive might be the root of Windows’ 100% disk usage problem. This may be fixed by using Windows’ built-in Scan drive function. Follow the steps below to do this.
1 – Double-click This PC on your desktop to open it.
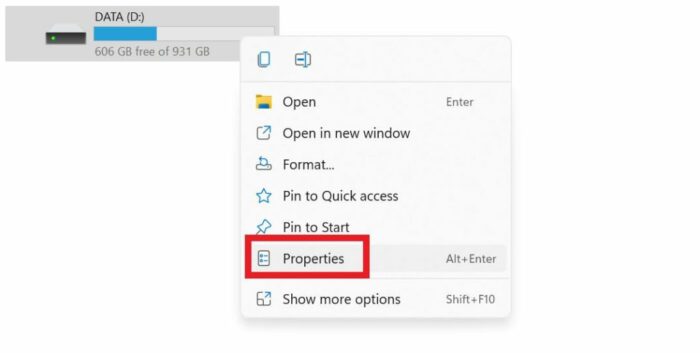
2 – Right-click your disk and choose Properties.
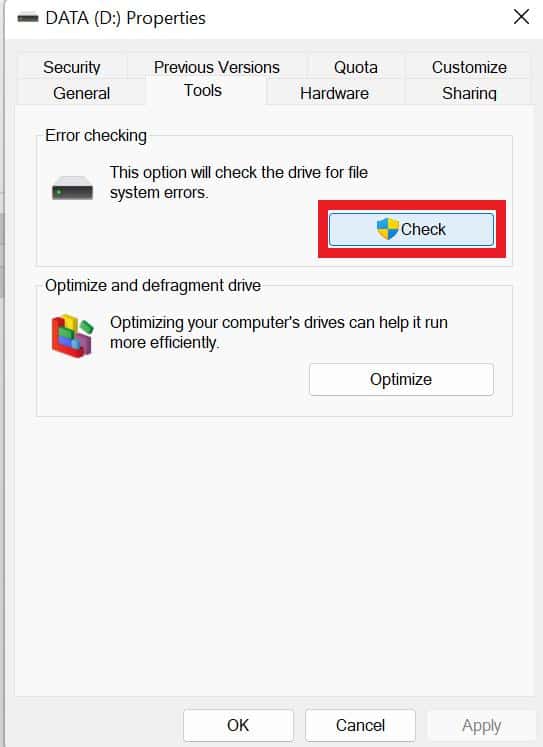
3 – At the top of the dialogue window, choose Tools.
4 – In this section, click Check.
5 – Select Scan drive.
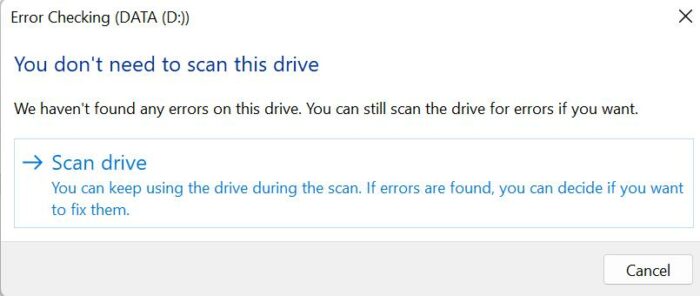
While you wait, the system will scan the drive; a reboot may also be required for a full disk repair. However, this should solve the problem.
Disable Windows Search
Windows Search can swiftly search your computer’s files. However, you may turn it completely off if you never use it. Follow these steps to stop this process.
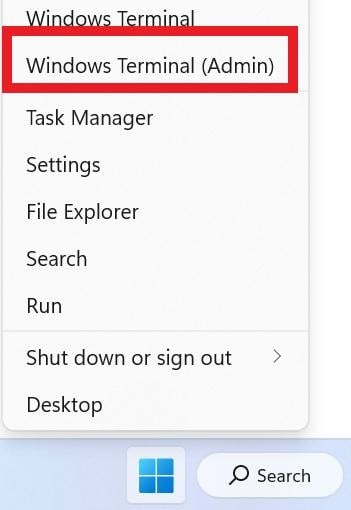
1 – From the Taskbar, right-click on the Windows icon and select Windows Terminal (Admin).
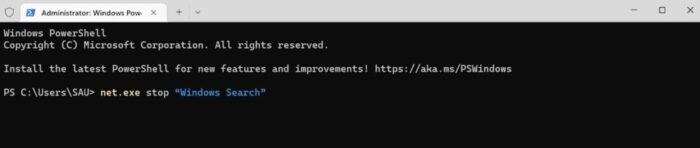
2 – Type the following command and press the Enter key.
net.exe stop “Windows Search.”
Check to see whether your computer’s performance and disk usage improve. If you answered yes, follow the steps below to disable Windows Search permanently.
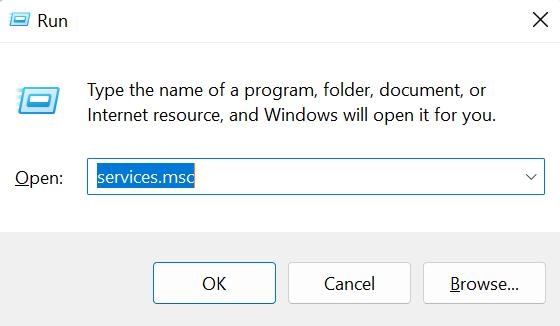
1 – Press the Windows key with the R key to open up the Run dialogue box.
2 – Now, type services.msc and press Enter.
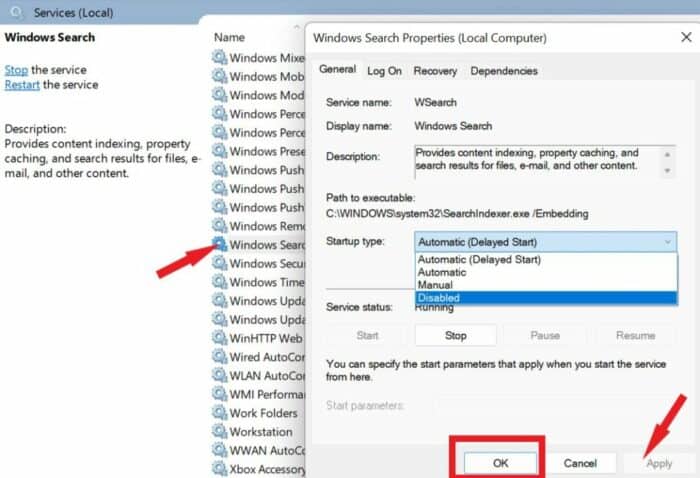
3 – Scroll down and double-click on Windows Search to open it.
4 – In the Windows Search settings window, tap on the arrow down symbol in the Startup type font and choose Disabled.
5 – Now, click Apply and OK to save the changes.
Disable Superfetch (SysMain)
The Superfetch service has also been identified as a possible cause of Windows 10’s 100% disk usage problem. This was renamed “SysMain” with the October 2018 Windows 10 upgrade. To turn it off, follow the steps below.
1 – From the Taskbar, right-click on the Windows icon and select Windows Terminal (Admin).
2 – Type the following command and press the Enter key.
net.exe stop “Sysmain”

Change Energy Options
Switching to high-performance mode commonly fixes the fault that causes Windows to use 100% of available disk space. Of course, this has the disadvantage of increasing your computer’s power usage. This should be fine with modern chip architecture. Even yet, the battery life on notebooks and laptops might decrease.
1 – Right-click on the Windows icon from the Taskbar and choose Power Options.
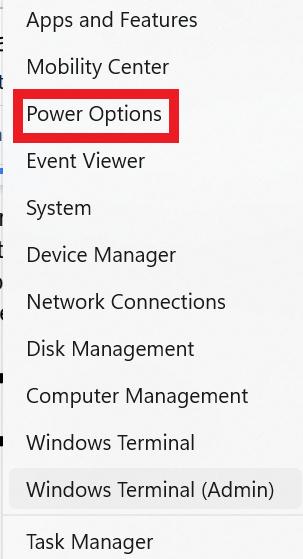
2 – Tap the drop-down arrow symbol next to Power mode, then choose Best performance.

3 – Restart your computer and check whether disk usage has decreased.
Perform Disk Check
If none of the above fixes work, you should check your hard disk for undesirable files. Disk Analyzer Pro is a fantastic program for analyzing all of the files on your hard disk. After sorting the files into different categories, you can quickly check them and delete the undesirable files.
1 – Download and install Disk Analyzer Pro on your laptop or PC.
2 – Next, pick the disk to be scanned and click Start Scan.
3 – Once the examination is complete, the program window will display your files’ classification into several categories.
4 – By double-clicking a category, you may see it. Then, a list of the files in a new window will appear.
5 – A new window will appear, displaying file names and data such as file type, size, and location.
6 – Click on a file to delete or open it.
Conclusion:
You may attempt these fixes if your disk is stuck at 100% in Windows Task Manager. You may check each separately, and I hope you find them beneficial. And if you know of any more solutions, please fix them in the comments section below.